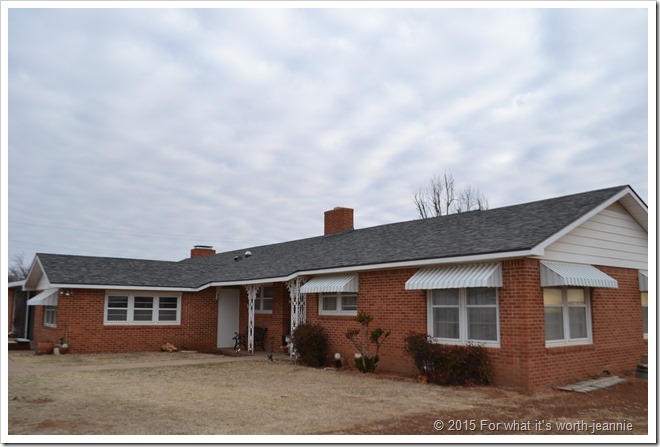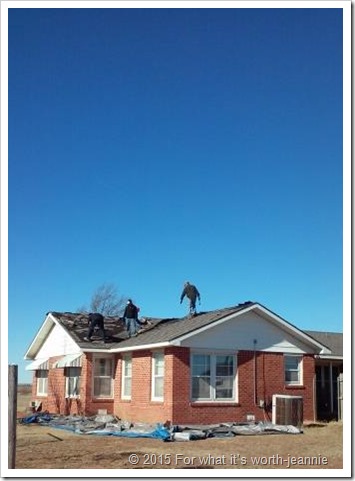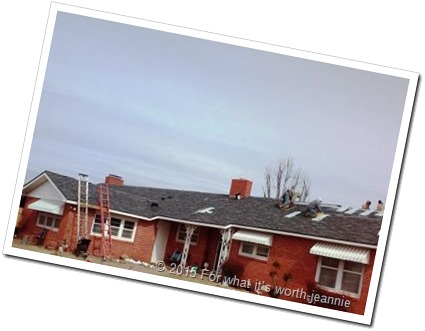
It took 3 1/2 days to complete the job due to several of the crew being sick or injured. The extra 1/2 day was no big deal to us. The first day they arrived around 10:00 AM. They lay down several tarps to catch nails and debris around the house and had a section over the master bedroom stripped of the old shingles ready when the truck arrived to deliver the new shingles. As soon as the shingles arrived there was no time wasted as they shingled the bedroom section. One laborer removed gravel & tar from above the carport and back porch. These two sections don’t have shingles and were the only area we worried might have damage to the wood decking because of water we witnessed leaking in the carport area.. Fortunately that was not an issue (I guess that’s the only benefit to the Texas drought) and they were able to replenish the tar and gritty gravel looking stuff. (like my technical terms?)


It was all I could do to keep my OCD self from picking up the litter around the house but also thought how smart it was that they tied the shingle wrapping in a big knot to keep them from blowing away in our Texas winds. I’ll admit that after they left each day I picked up some litter they left from their lunch time. I couldn’t help myself. I shouldn’t have been so OCD because when they finished shingling they picked up everything and rolled a magnetic thing around the yard to capture errant nails.
The cool thing is they left me several pallets that came with the shingle delivery. Whoo hoo! Craft projects!
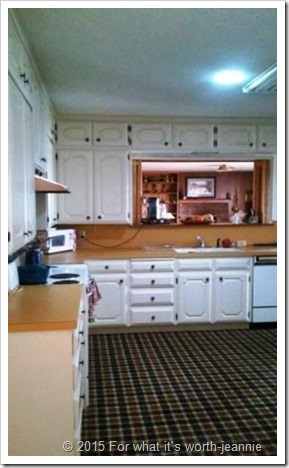
We negotiated adding a 10” tubular skylight to brighten our center located kitchen. There’s not a better time to add skylights than while the roof is being replaced. Hubs crawled into the attic to find a perfect spot between joists where he hammered a nail through to mark the center. Back in the kitchen he used a template that came with the kit and a jigsaw to cut a perfect circle that accomodated the tube and cover. Meanwhile the roofer cut an opening in the roof. They worked together to slide the tube into place from the roof to the ceiling fixture. Once that was done hubs used some sealing tape to seal the two pieces together while the roofer added the bubble dome on top and sealed it off with tar, flashing and shingles. Inside the kitchen hubs added the filter and was done. The whole project took less than 2 hours.
From inside the kitchen it looks like a recessed light fixture.

The tube has a filter that gives off a blue-ish glow kind of like a night light that we didn’t expect, but it’s okay. The kitchen is in the center of the house and has no windows so it made a significant difference. We also purchased LED recessed lights to replace old florescent fixtures. The LED reportedly will be cooler to use, last much longer than standard bulbs, easier on the eyes and cost a little less in electricity. The bulbs are more expensive to buy than standard ones, but long term will be cheaper. I’m still debating whether we need a central fixture in addition to the recessed lights. We’ll make that call when we see if the recessed lights are bright enough and spread the light out enough. There will be some electrical rewiring as the lights are done. The existing wiring looks a bit like a fire hazard. I'm looking forward to having that finished.
Watch for the post later when we change out the countertops and that 1970 plaid carpet. We believe there is hard wood floors under there. Meanwhile check out the renovation plan here.
Before buying the fixer upper we spent a year updating our previous home of 38 years. I think we did a good job, we sold it in two days! If you'd like to see the many projects that made the sale a success check out The Home Do Over page.

