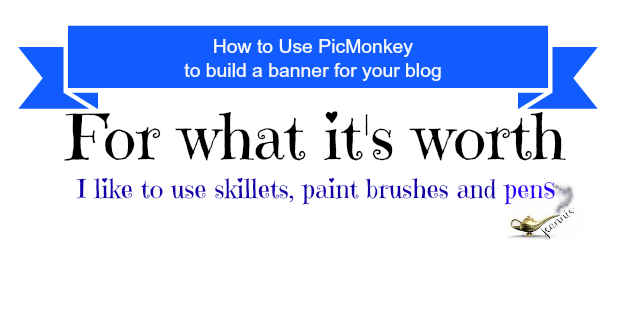
This is what I want to accomplish:
- Size the header.
- Choose and re size the PicMonkey layout.
- Use PicMonkey fonts to write a blog title and a little description under it.
- Add a graphic as an overlay.
- Save the newly created banner as PNG to the desktop and skybox account.
- Apply to the blog.
- Celebrate with a bowl of ice cream.
The first thing I had to do was find out how wide my blog page is.
| See the ugly plain gray background and the fuzzy font? |
- I opened my Blogger dashboard and clicked on template editor.
- Click customize.
- Next, click adjust width (but only to look). See it? At the top on the right.
- Write that down. Mine is 1230 x 310 pixels. I adjusted the banner height to 250.
Now move on to the free PicMonkey
(I'm not an affiliate, I just like the free program)
http://www.picmonkey.com/
- Click on Collage. It will take you to your computer photos.
- Choose any old photo. It doesn't matter, you won't be using it but it's what you have to do to get back to business and build your banner. Click Open.
- Now choose a layout. I chose ducks in a row and deleted all but one box. (Delete by clicking on the little X in the upper right corner of each box.
- You have one box left. It's time to change the pixel size to match your blog. Under the collage box is the pixel size. Click on the shown pixels. It highlights and you can type in your pixel size. I was also able to grab the borders and drag them to the general size. Then I typed in the actual demensions.
- Here is what took me most of the day to figure out. I wanted my words to float on top of the background color. I even tried applying a white background color, but every time I saved it then applied it to my blog the white turned an ugly blue grey. I finally figured out to make my collage background transparent by clicking the artist pallet icon.
- I changed to the best pixel quality by clicking the gear icon and selecting King Kong. Save.
- It's time to move over to edit and add text + I wanted my photo graphic. Click edit and open in editor.
- Design away. I chose two fonts and if you watch for the cross hairs as you move your cursor around you can center them. I used the butterfly icon to overlay my own photo. (it needs to be edited and ready to apply) To give it a bit more deminsion I also placed a faded overlay behind my blog title words. Right click on the overlays to move them forward or backward.
- When it was all done, I saved it to my desktop and to my skybox account as a PNG.
- You can now go to your Blogger dashboard and apply your beautiful new banner.
How to apply the new banner in Blogger
- Back up your blog before you start in case you want to revert back.
- Open the Design dashboard.
- Choose layout.
- Click edit inside the header box.
- Remove the image already there.
- Choose your saved image from your computer or skybox account.
- Save. View your blog.
- Have a second bowl of ice cream.


